PSP LED Swaps by NeubitIntroduction Neubit shows us how to change the LED's in a PSP phat in this tutorial.
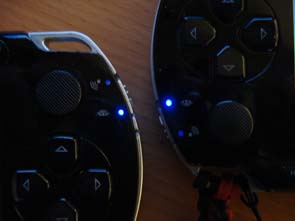
Because the stock leds are BORING! (LOL)
Parts Needed --PSP Phat
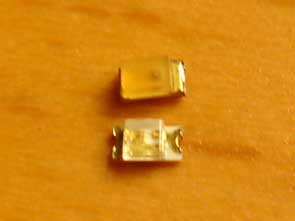
--1x SMD 0603 LED
Tools Needed --Screw driver
--Tweezers
--Scalpel
--Soldering iron +
--Rosin soldering paste & Solder
--*Buttonizer
Average Time To Complete- About 25 Minutes
Difficulty Rating-2/5
Step By Step Tutorial-First you must take off the faceplate by removing the 7 screws from the back of the PSP (4 Under the battery, 2 on the right side and 1 on the bottom of the psp)
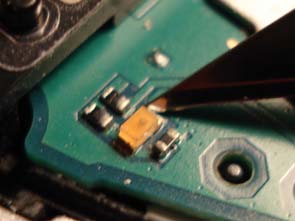
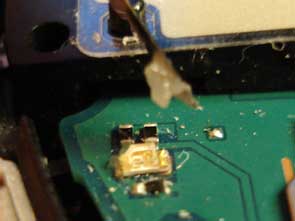
Now, Find the orange Memory Stick Indicator Led located under the faceplate in the bottom left corner.
Using a scalpel very cautiously you must cut under the left and right sides of the lead separating it from the motherboard. You do not apply a lot of pressure on the scalpel, if you are not careful you will damage the motherboard or the surrounding resistors.
Tip: After successfully removing the stock led store it in a save place for future use.
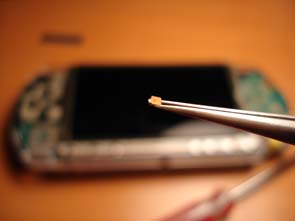
Prepare your aftermarket led; at this point you can turn on your psp for testing.
The led is most active during file transfers from your PC to the PSP. However Fast-forwarding an Mp3 Song will do just fine.
(*Buttonizer)
With the faceplate removed, it is impossible to press the arrow keys or the /\[]OX buttons, so a handy tool has been crated from an old playstation controller.
The padding from under an arrow key was cutout and placed on the tip of a small screwdriver. Using this you can now fully navigate your PSP!

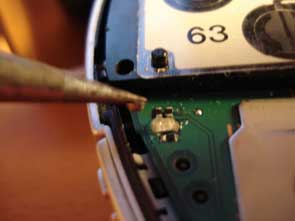
Using the tweezers press your Led against the Led contact points on your motherboard the LED should start to flicker if you got the polarities (+/-) correctly aligned.
(It is assumed your memory stick is being active.)

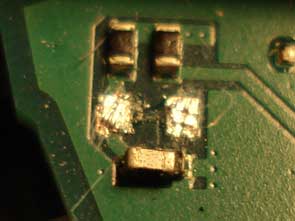
After the LED has been successfully tested, turn off your PSP and remove the battery. The Led it must be carefully soldered onto the motherboard. Using the tweezers or the scalpel apply soldering paste to the Led contact points on the motherboard.
Using the tweezers (cleaned) place the Led into its correct position on the motherboard. Apply more soldering paste if necessary.
Put a small amount of solder onto the clean tip of the heated soldering iron. Now solder the contact points of the Led to the motherboard.
Turn your PSP on and activate the Memory Card. At this Point your Led should be sitting tightly in its place, flickering.
Optional: In this Mod the led I am using requires more power to run brightly then the default led. The led appears way too dim with the faceplate off. To love this problem and give the led more juice to feed on, you will have to bridge one of the 3 surrounding resistors. By doing that you will allow more power to flow to your led making it brighter

There are two ways of bridging the resistor, you can remove it completely and solder the resistor contact points together with a small drop of solder, or you can join the two ends of the resistor using the same technique.

Put back your faceplate and enjoy your new memory stick indicator.
Brought to you by -Neubit- @ Acidmods.com


